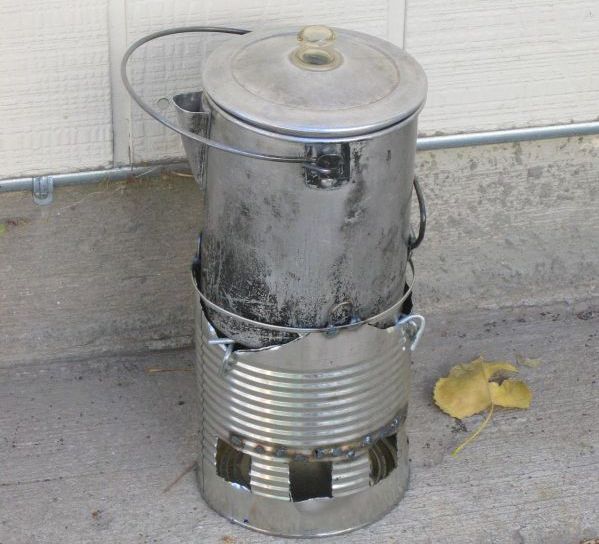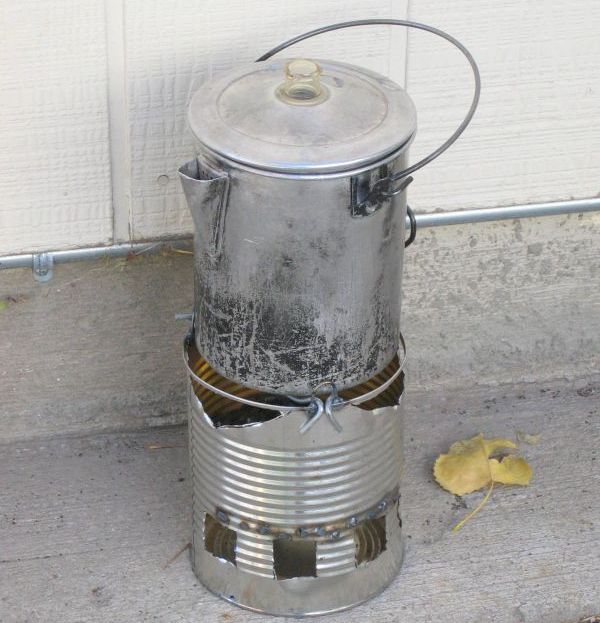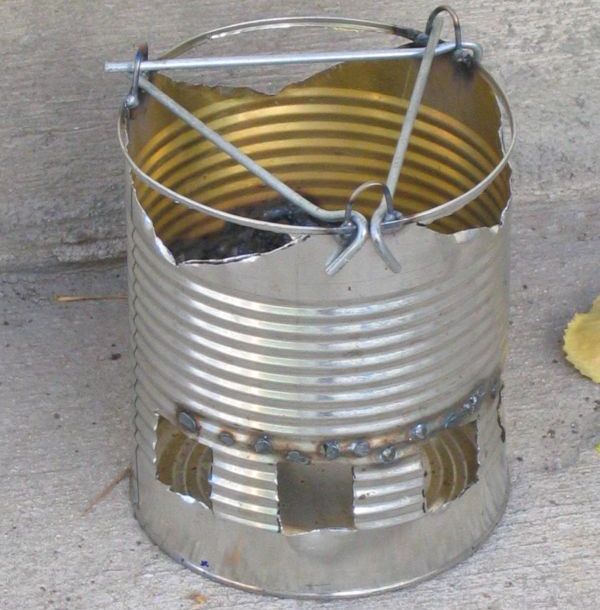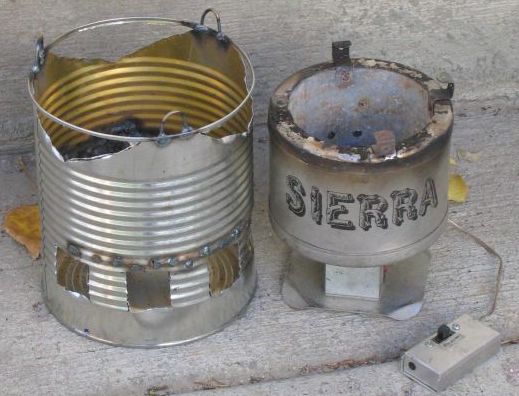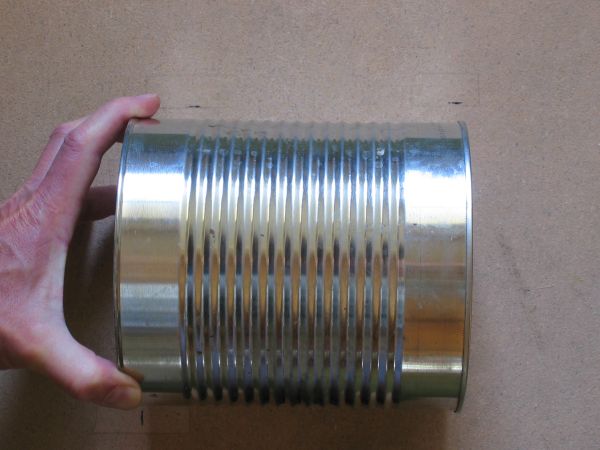
Start with a #10 tin opened by a can opener that cuts down and not in from the sides. The thicker rim will work better.
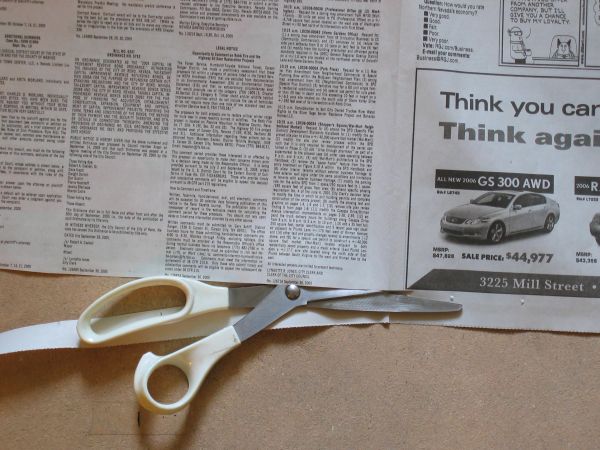
Cut a strip of paper long enough to fit around the can.
Cut the strip of paper so that it just fits around the can.
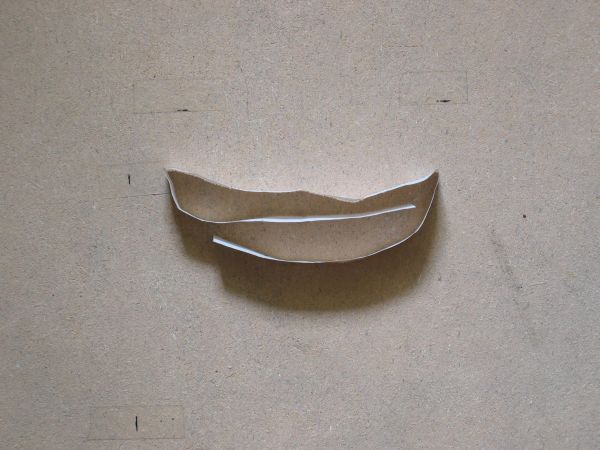
Fold the strip of paper so that it has 16 equal sections.
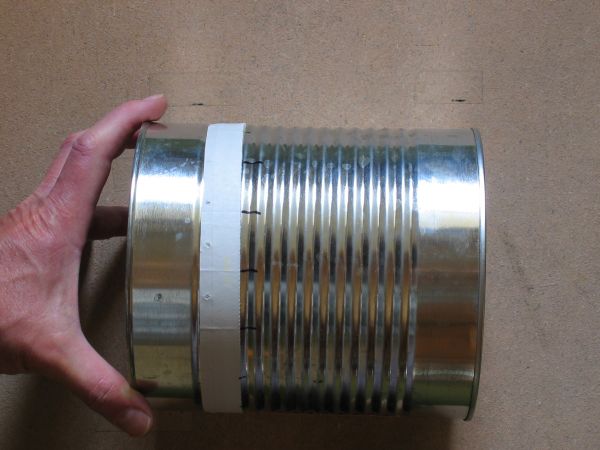
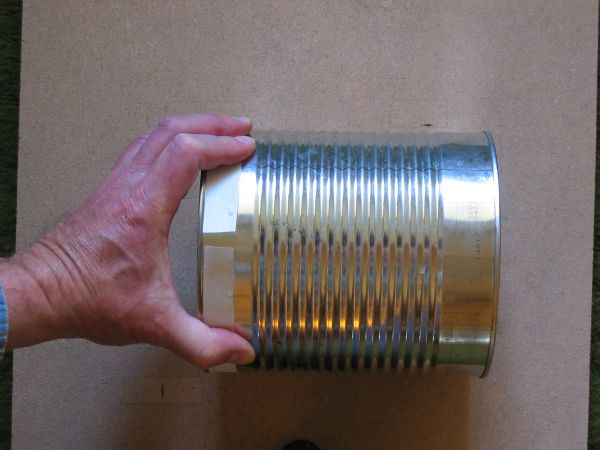
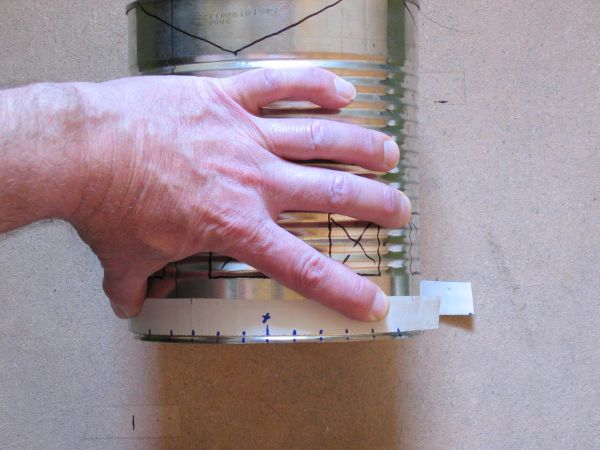
Place the strip of paper around the can and mark the can where each fold in the paper and the beginning/end of the paper are.
Refold the paper into three equal sections. Mark the two folds so that you can tell them apart from the previous folds.
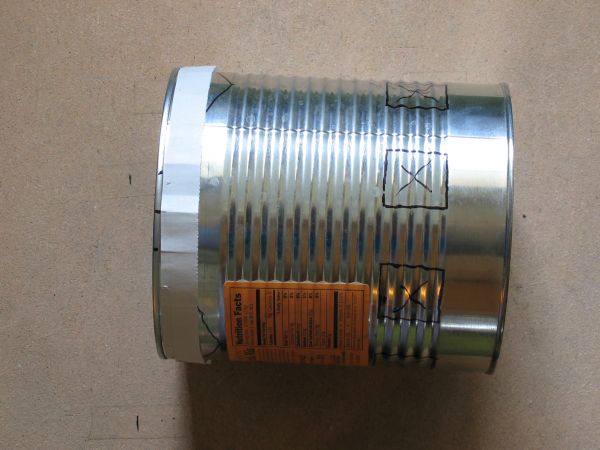
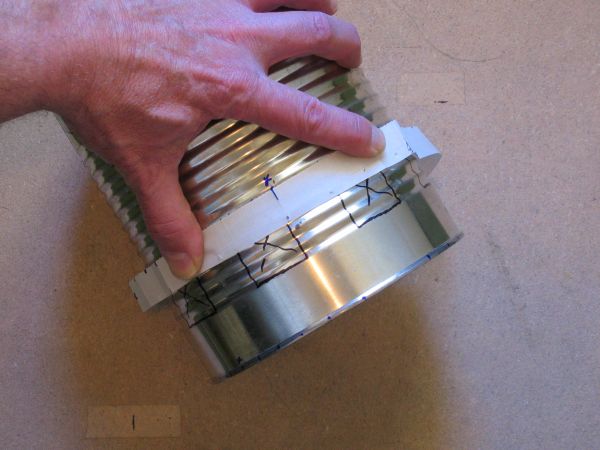
Place the strip around the top of the can and mark the can where the two folds and beginning/end of the paper are. Also, mark the top of the can 3/4" on either side of the three previous marks to give three 1 1/2" supports for the top rim on the finished stove.
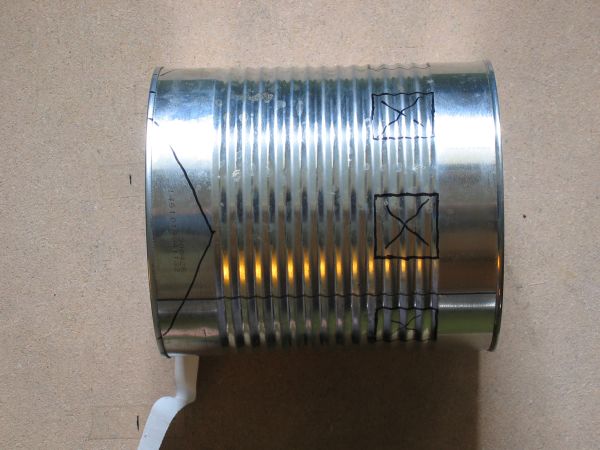
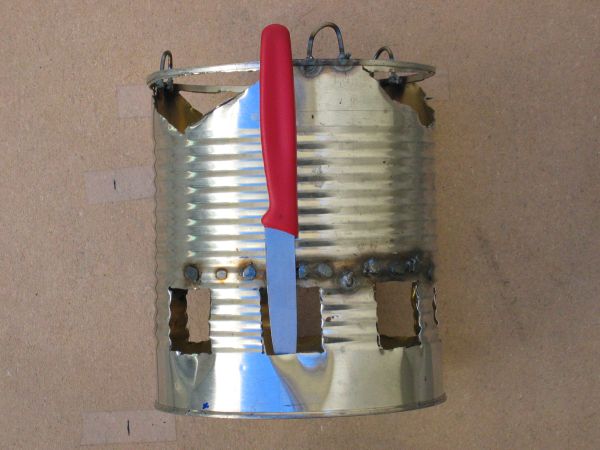
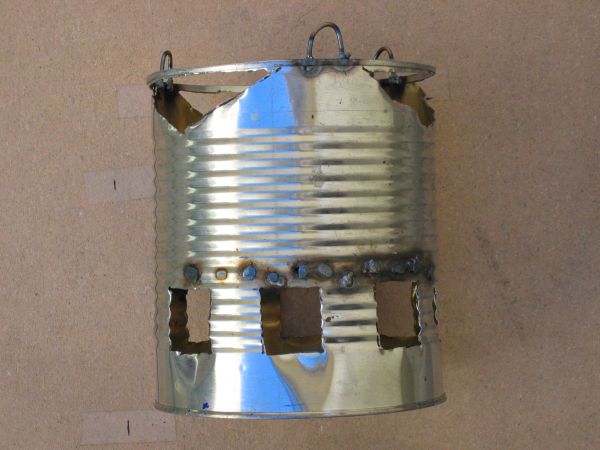
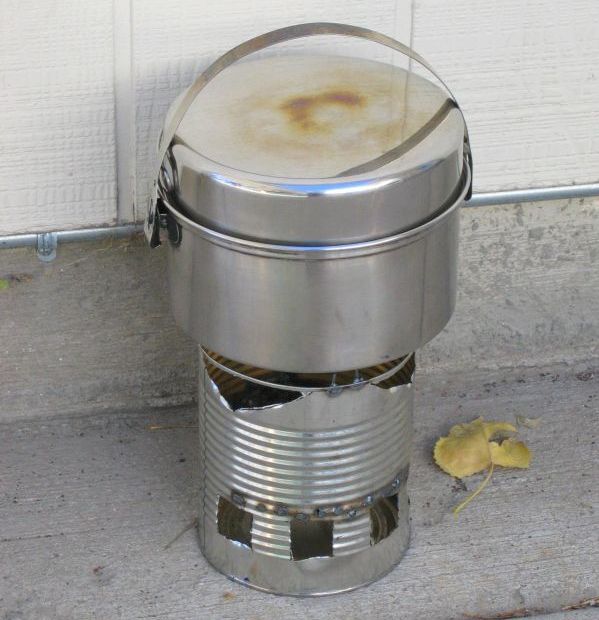
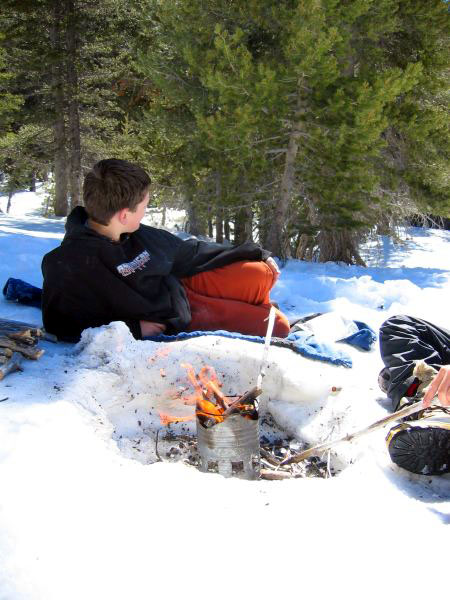
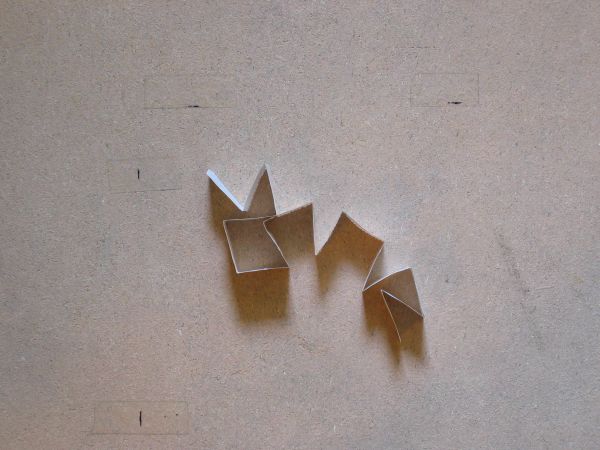
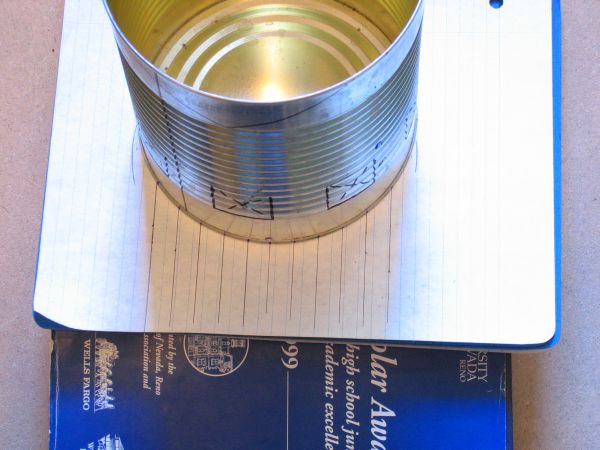
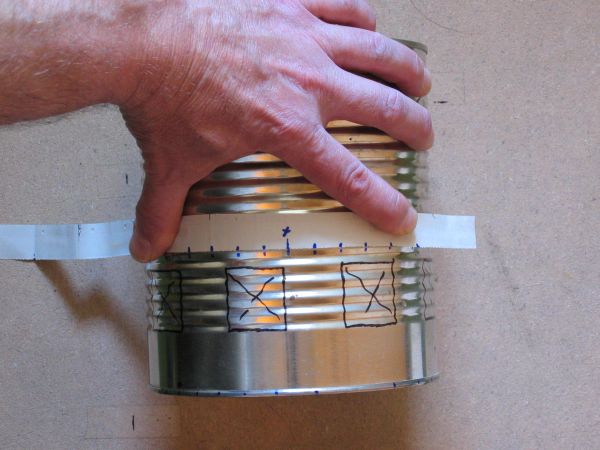
Draw equal squares using the 16 marks near the bottom of the can. Leave room in the bottom of the can for ashes to fall without clogging the air vents that the squares will become. Draw a "V" using the 3/4" marks either side of the three evenly spaced marks on the top of the can as shown. This will allow for exhaust. The idea is to have as much air flow as possible when the pot is on the stove. These "V's" also allow you to add wood without removing the pot.
Fold the paper strip in half and mark the fold.
Fold the paper strip in half again to give a quarter fold and mark the fold.
Place the strip of paper around the can and mark the can above the squares where the half fold in the paper and the beginning/end of the paper are.
On a sheet of paper mark the diameter of the can. Find the center between the marks. Make some marks just inside the outer marks to reflect the diameter of the inside of the can. Make five marks equal distance apart between the middle mark and the inside diameter marks. Draw parallel lines through the eleven inside marks.
Place the can centered on the paper and mark the can where the parallel lines intersect the circumference. Mark the center line on the can so you can identify it easily.
Place the strip of paper with the quarter fold on the center line mark. Mark the paper where the lines were marked on the can.
Place the quarter fold (center line) mark over each of the half marks on the can and make marks on the can where the lines were marked on the paper.
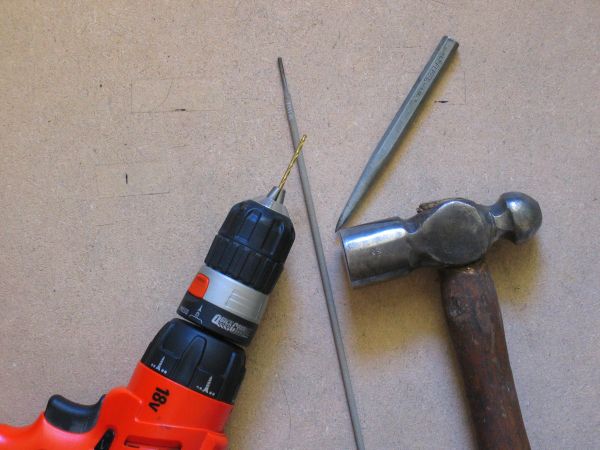
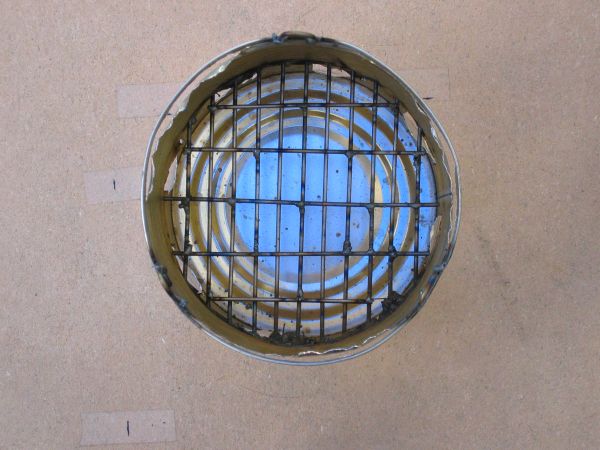
The next item is a drill the diameter of the rod you will use as the grating. My rod is 3/32" diameter after I remove the coating from the welding rod. The punch and hammer are for punching the can for starting the drill.

Holes will be drilled at two opposing corners of each of the eight squares ----
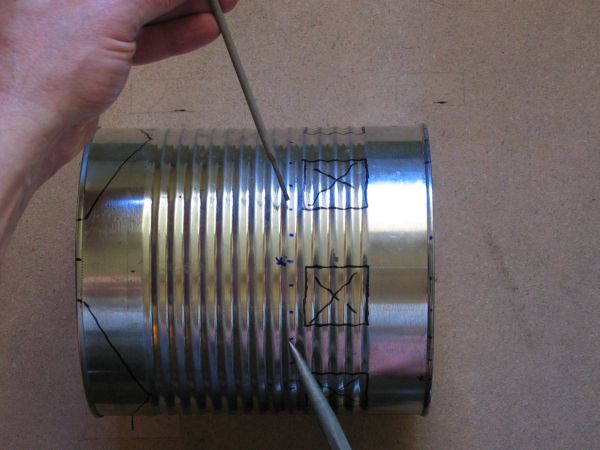
and at each mark for the grating rods ------
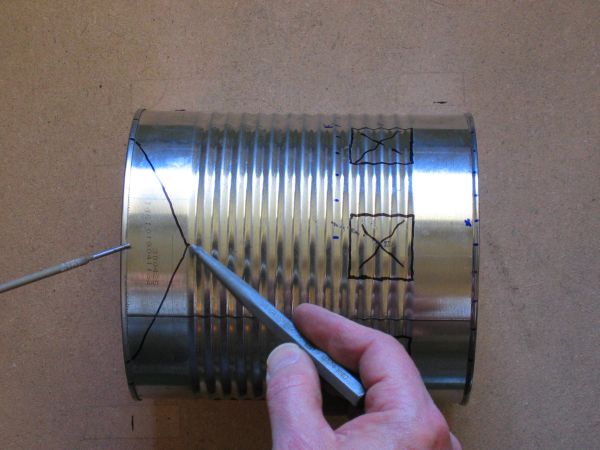
and at the bottom of the "V's" and under the rim directly above the bottom of the "V's". The rods will be cut so that they will just stick out each side of the can to make the grating. I weld the rods in place, but you can use clothes hanger rods and bend the ends over. I just like using my MIG welder.
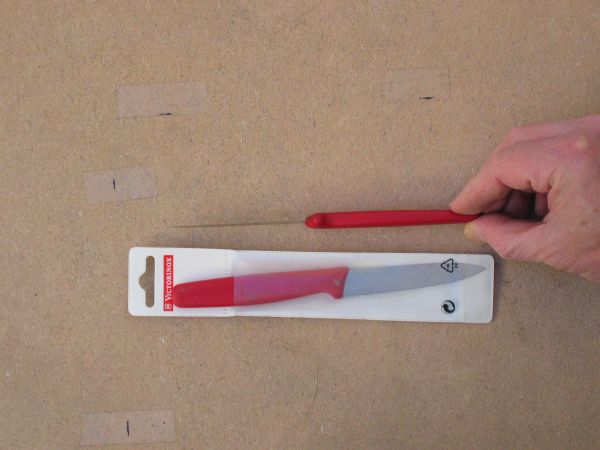
A thin blade is necessary. A fat blade will bind up too much to cut the metal.